Setting a boot splash screen
Warning
This guide has been verified on Raspberry Pi OS 12 (bookworm). It should work with other OS versions, but it has not been tested. If you decide to follow this guide, please let me know about the results and any changes you had to do to make it work.
Installing dependencies
Run the following command to install requirements for displaying the boot splash, the Plymouth service and the default Raspberry Pi splash:
Configuring
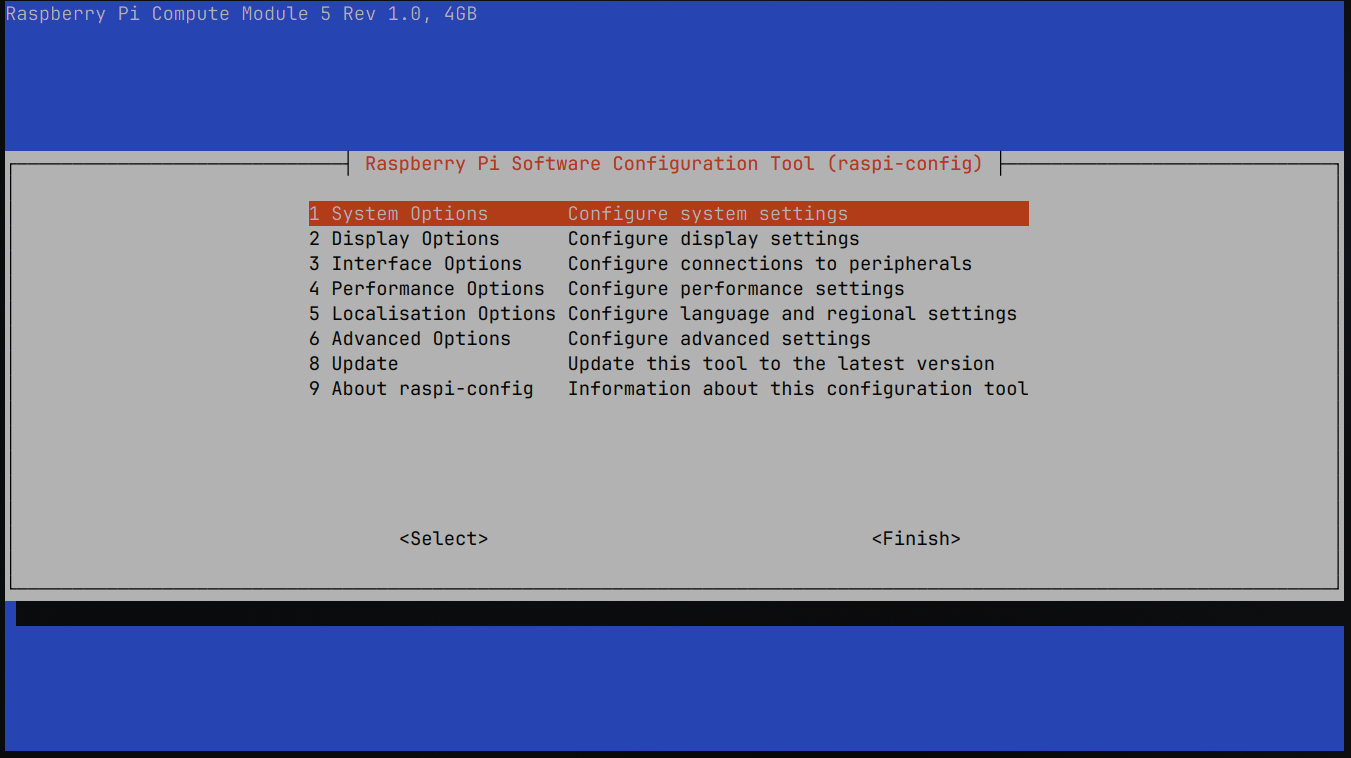
We now need to enable the splash in Raspberry Pi configuration. Let's go to the Raspberry Pi configuration tool:
There, select the following options:
1 System Options
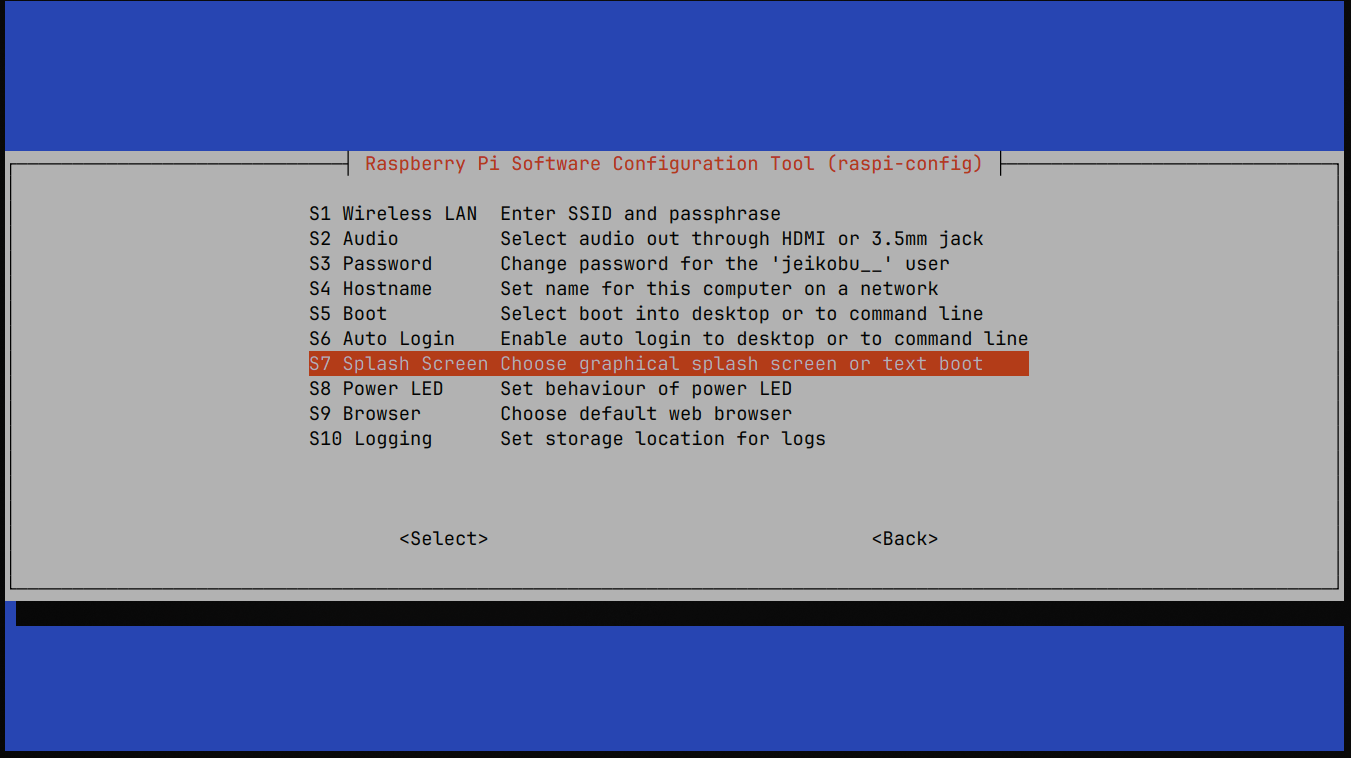
S7 Splash Screen
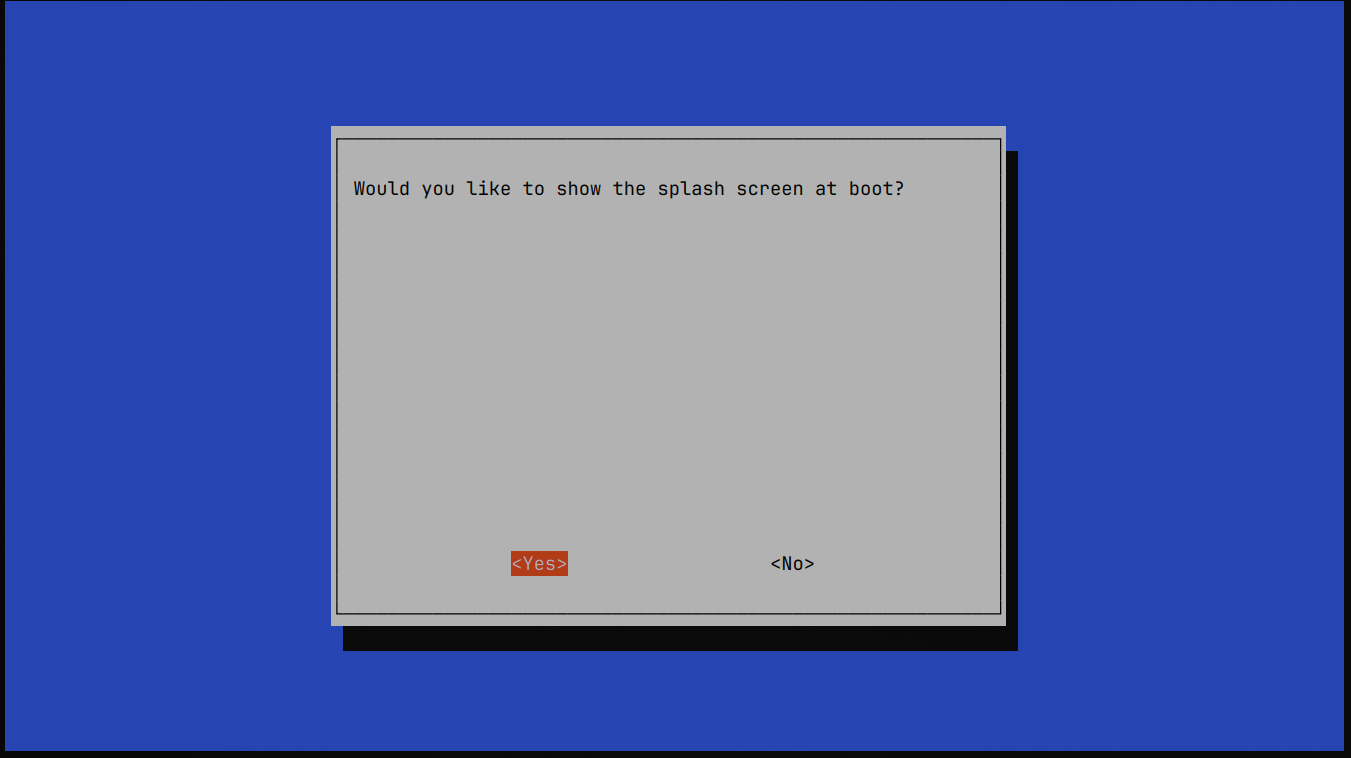
Then, when asked if you want to show the splash screen at boot, select Yes and Ok.
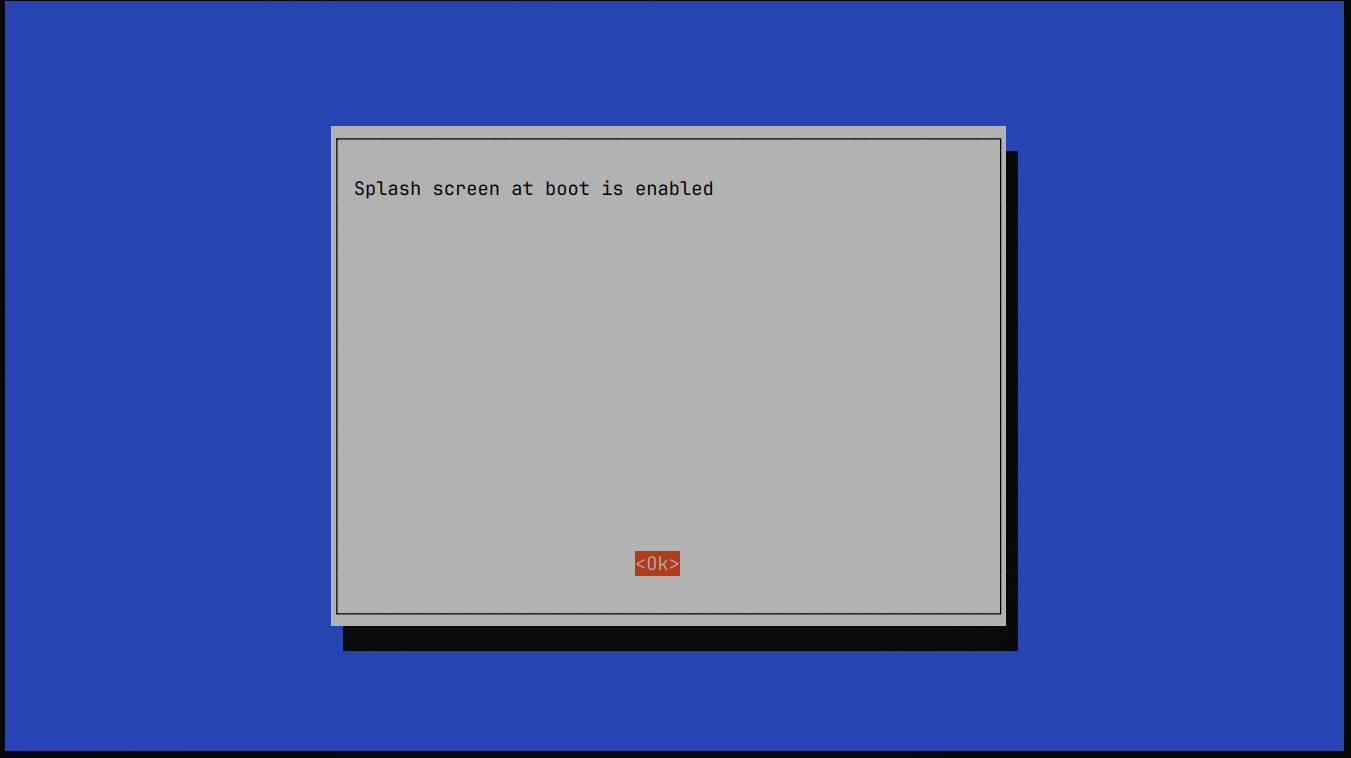
Exit the tool by selecting Finish. Do that by pressing the right arrow twice.
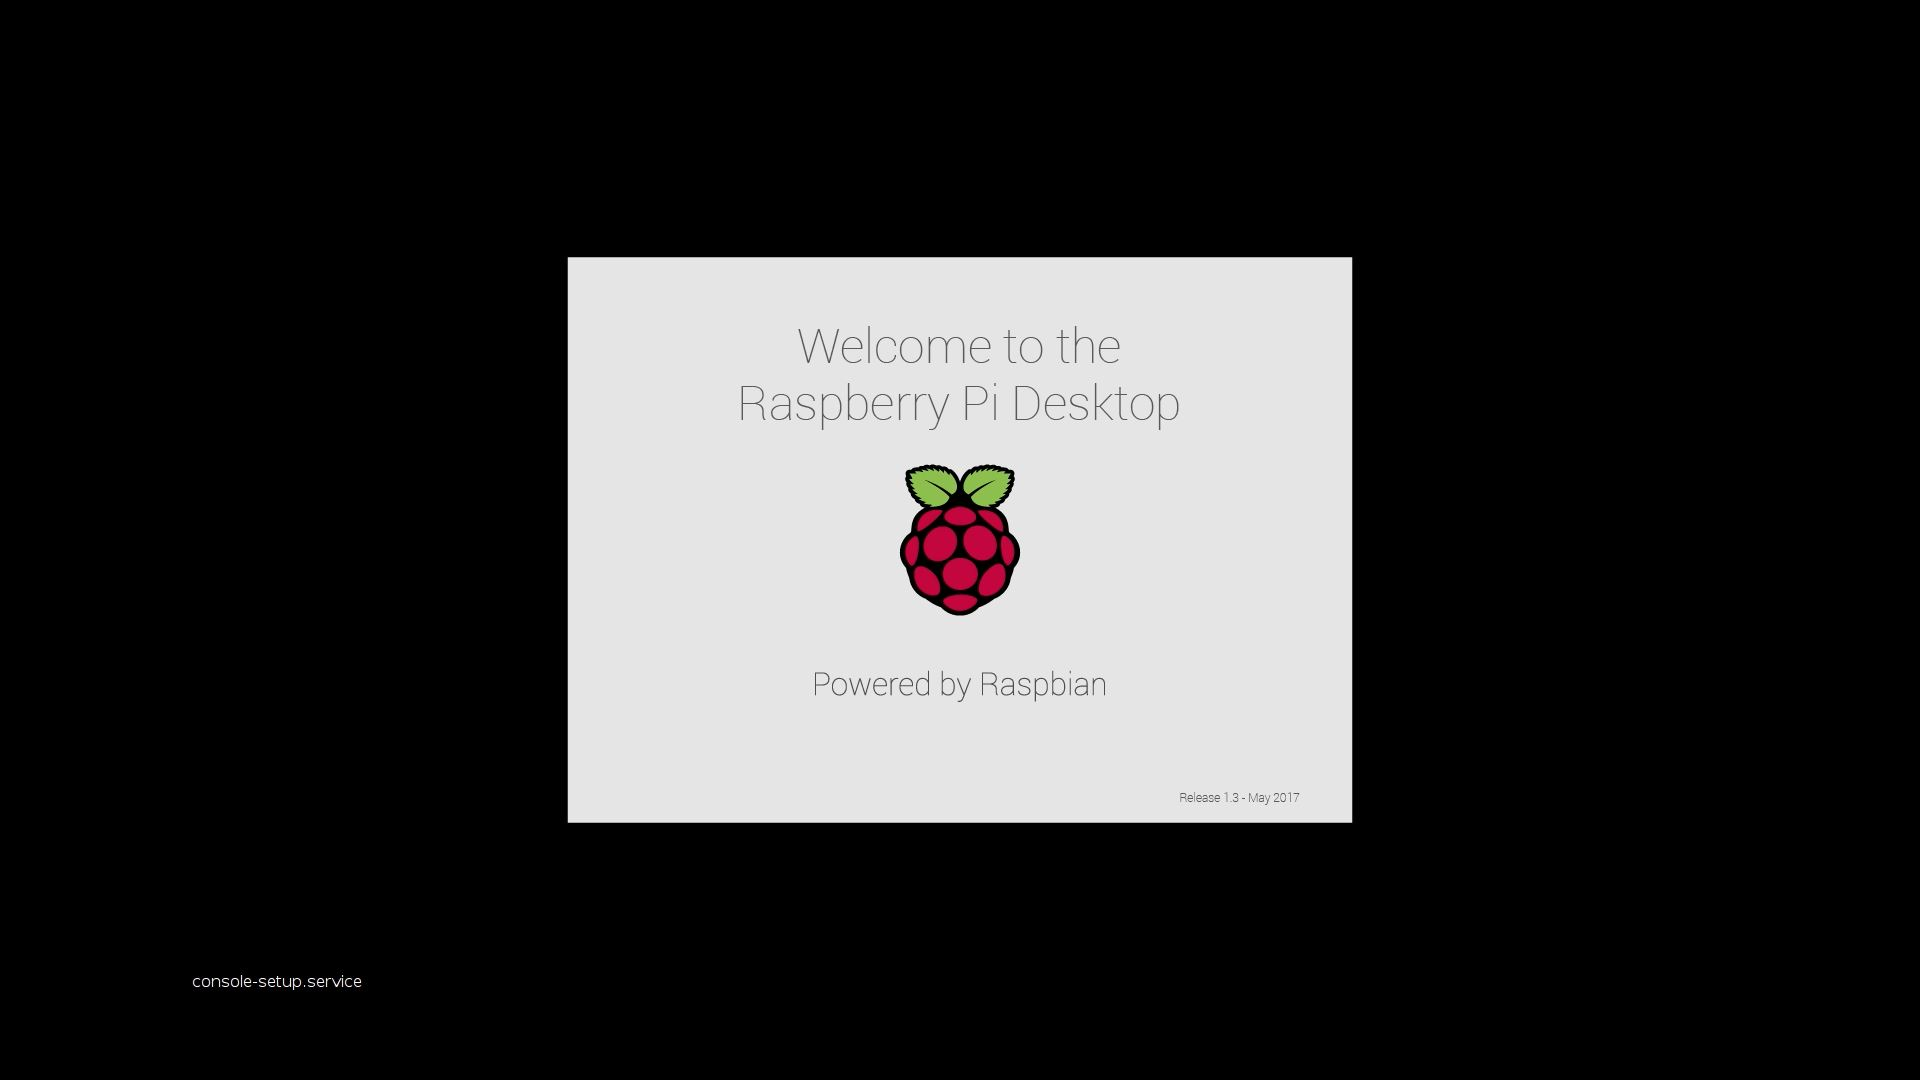
When you reboot your Pi now, you should see the default Raspberry Pi splash screen1:
Creating your own theme
To make your splash screen survive any future system updates, we will create our own theme based on the original one we just installed. (Thanks to @mjonuschat from the Voron Discord server for the suggestion!)
To do that, let's copy all the files to a new directory:
sudo mkdir /usr/share/plymouth/themes/voron
sudo cp /usr/share/plymouth/themes/pix/pix.script /usr/share/plymouth/themes/voron/voron.script
echo -e "[Plymouth Theme]\nName=voron\nDescription=3D Printer Splash Screen\nModuleName=script\n\n[script]\nImageDir=/usr/share/plymouth/themes/voron\nScriptFile=/usr/share/plymouth/themes/voron/voron.script" | sudo tee /usr/share/plymouth/themes/voron/voron.plymouth
When you run the last command, verify that the output looks like this:

After that, verify your new theme folder contains two files named voron with different extensions:
The result should look like this:

Now, we need to add the splash image. First, you need to get your own splash image on the Pi. For this guide, I will assume your splash image is somewhere on the Internet and you want to download it directly to your Pi. To do that, execute this command:
e.g. wget https://b.chihi.ro/juUSHP.png -O splash.png. Then copy the splash image to the splash config directory:
The last step is to enable the new theme:
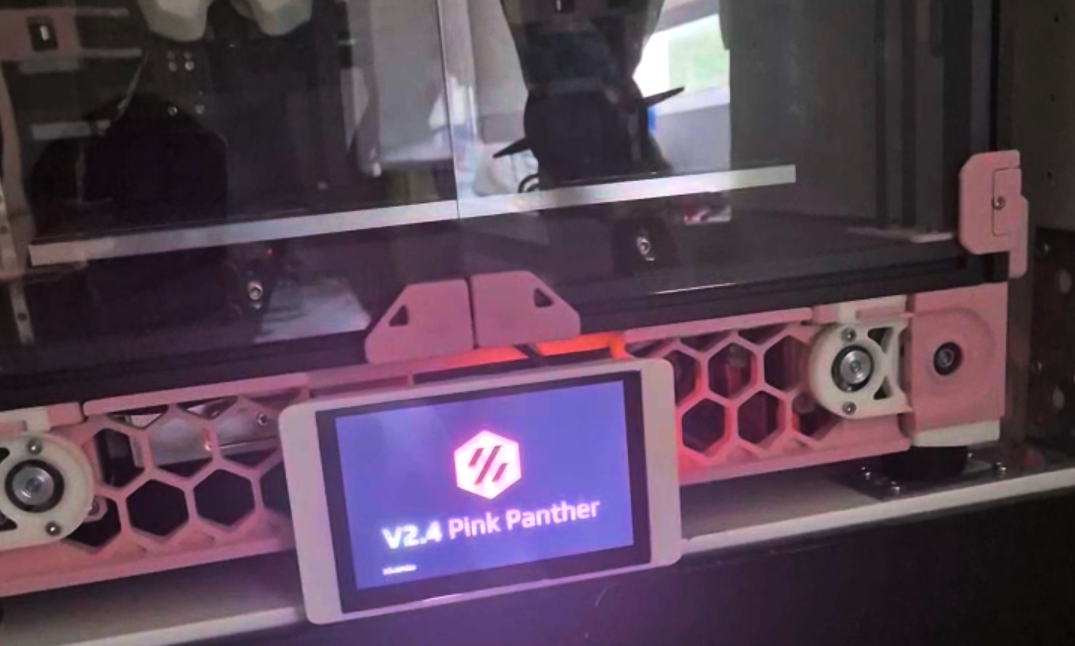
When you reboot, you should see your new splash image displayed on the screen.
Making the splash screen stay longer
Tip
This step is optional. It may cause your Pi to boot a little bit slower and is purely for aesthetics (makes the black screen between KlipperScreen and the splash screen shorter).
To add a 10 second delay before the splash screen stops being shown, execute this command that will create a delay service:
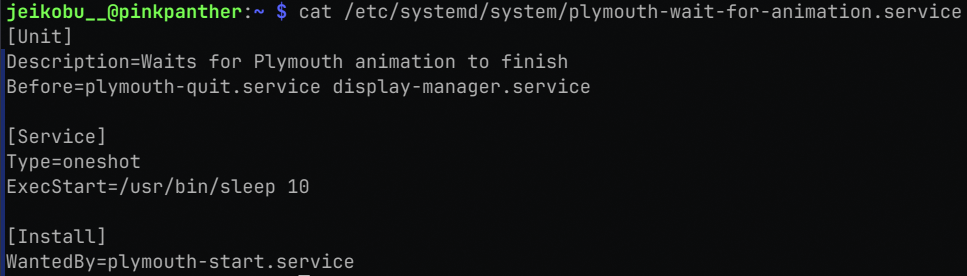
echo -e "[Unit]\nDescription=Waits for Plymouth animation to finish\nBefore=plymouth-quit.service display-manager.service\n\n[Service]\nType=oneshot\nExecStart=/usr/bin/sleep 10\n\n[Install]\nWantedBy=plymouth-start.service" > /etc/systemd/system/plymouth-wait-for-animation.service
Then verify that the file looks correct by executing:
It should look like this:
If everything is fine, you can enable the delay service:
Congratulations! You should have a beautiful splash screen displaying whenever you start your printer up.
-
Image source: mypicode.wordpress.com ↩